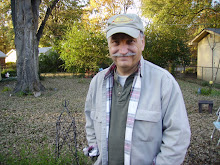
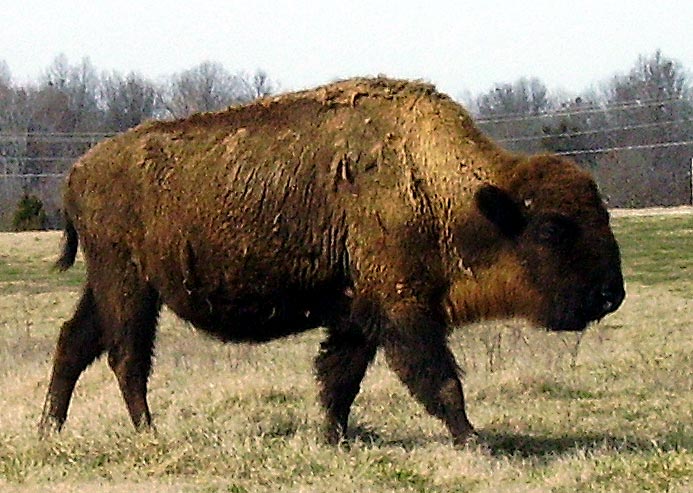
Fall Down Funny
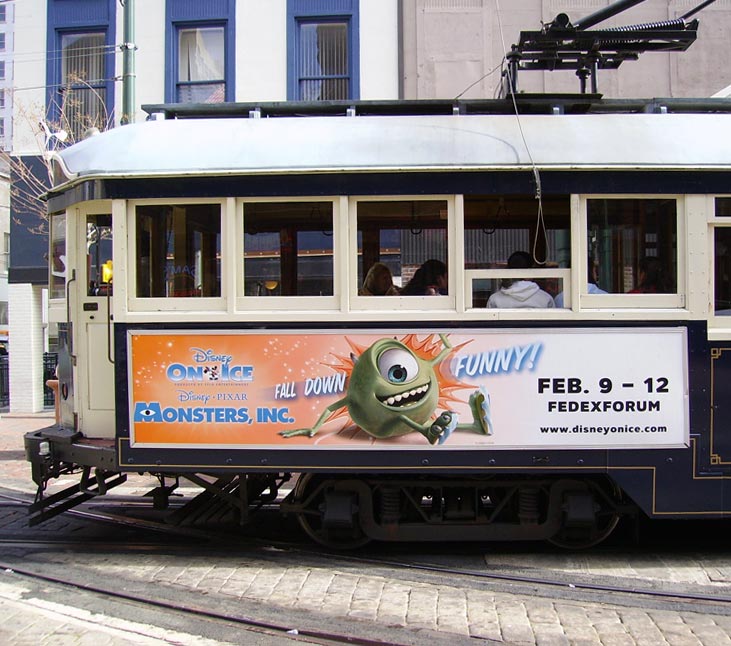
The sign on the trolley says it all. Have a good weekend!
posted by Professor Phelps @ Friday, January 27, 2006
3 comments
![]()
posted by Professor Phelps @ Friday, January 27, 2006
3 comments
![]()
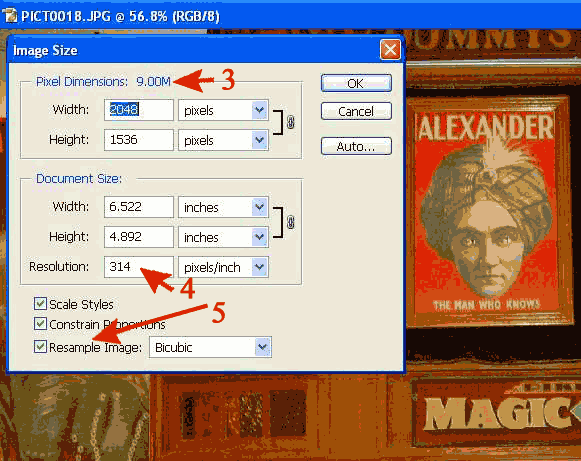
 1. Open a digital camera image in Photoshop.
posted by Professor Phelps @ Friday, January 27, 2006
0 comments
![]()
posted by Professor Phelps @ Thursday, January 26, 2006
1 comments
![]()
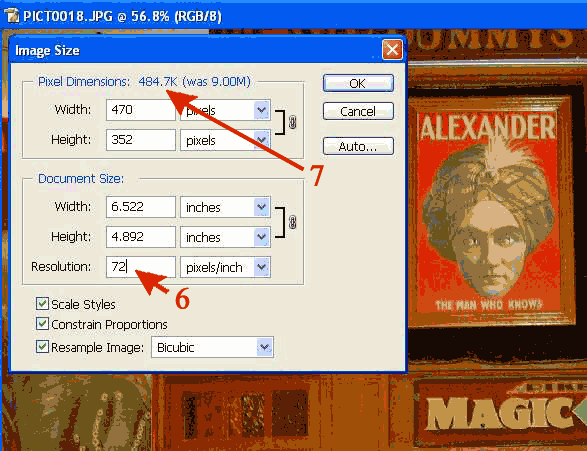
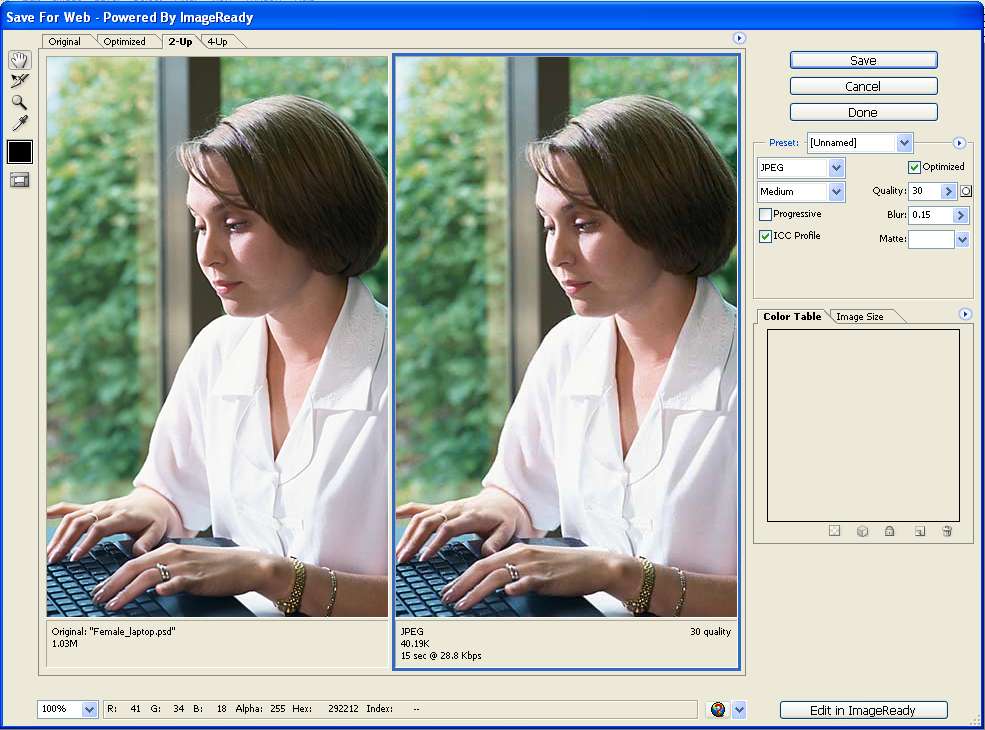 The goal of optimizing for the web is to produce an image with acceptable quality at the smallest file size.
Basic steps:
1. In Photoshop, open the image you want to save for the web.
2. From the menu bar, choose File > Save for Web.
3. Select the optimized file format:
Gif –best for graphic images with large areas of flat color
Jpeg –best for photographic images
4. Adjust the quality settings to achieve the best image with the lowest file size.
5. Save the image.
posted by Professor Phelps @ Tuesday, January 24, 2006
0 comments
![]()
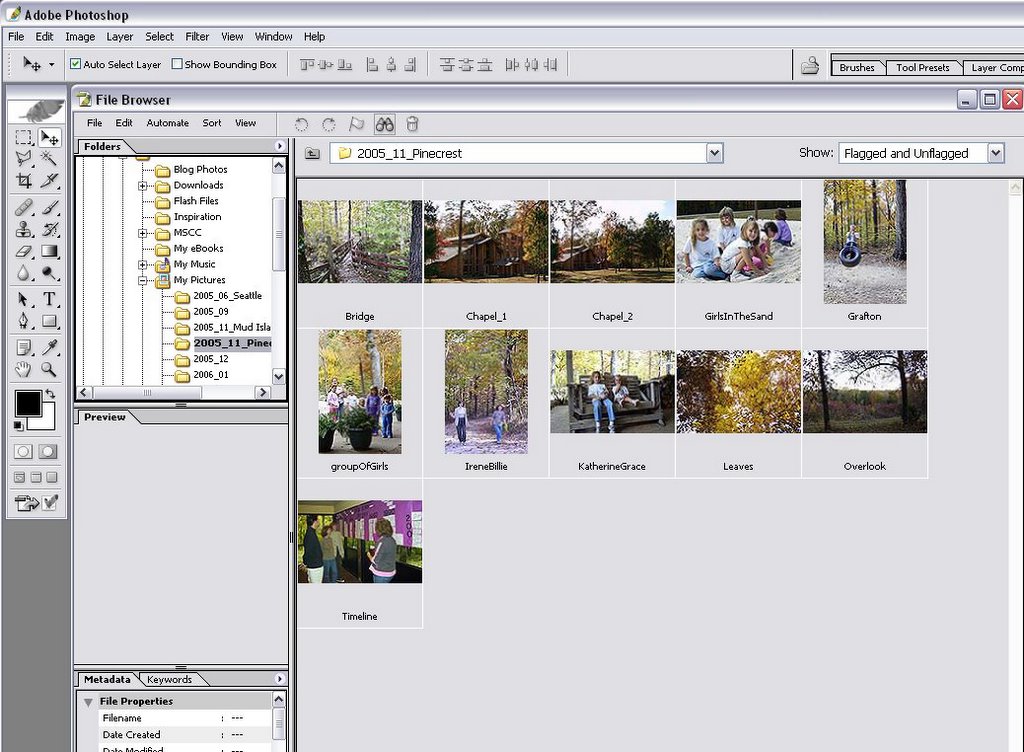 I use this technique for finding stock photos and camera images stored on my hard drive.
posted by Professor Phelps @ Monday, January 23, 2006
0 comments
![]()


One of the pleasures of working in downtown Memphis is going to the Rendezvous for lunch on Friday.
The Rendezvous is known for its slow cooked, dry seasoned ribs. Mmm, Mmm, good!
posted by Professor Phelps @ Friday, January 20, 2006
1 comments
![]()

posted by Professor Phelps @ Friday, January 20, 2006
0 comments
![]()
posted by Professor Phelps @ Saturday, January 14, 2006
5 comments
![]()